

You can browse all available vacancies across SAMpeople Recruit from one centralised platform. By creating a profile, you’ll be able to store your information within the system, making it easy to reuse for future applications and streamline your job search. You’ll also have the flexibility to update your details at any time, keeping your profile current and ready to apply for new opportunities.
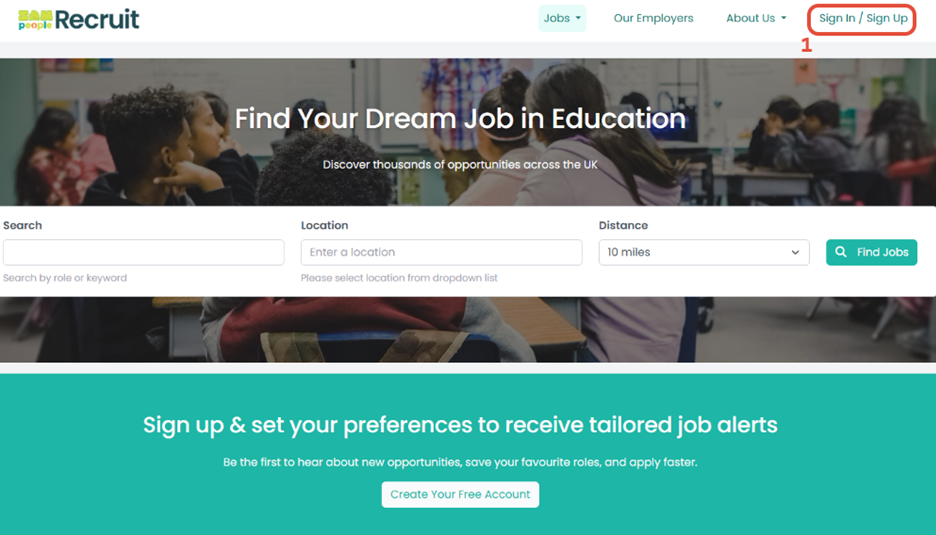
1. When on the SAMpeople Recruit landing page, select Sign In / Sign Up.
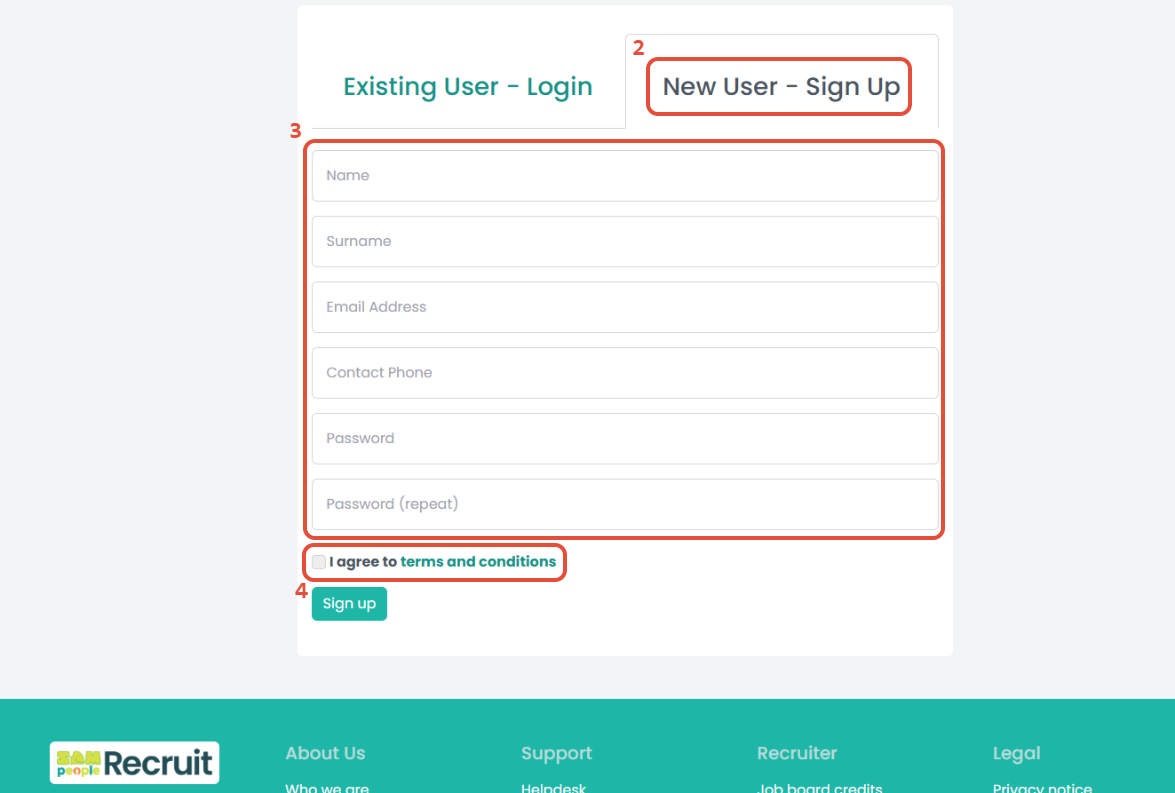
2. Click New User - Sign Up.
3. Complete the following fields:
- Name
- Surname
- Email Address
- Contact Phone
- Password
- Password (repeat)
4. Tick the checkbox to agree to the terms and conditions.
Select Sign up.
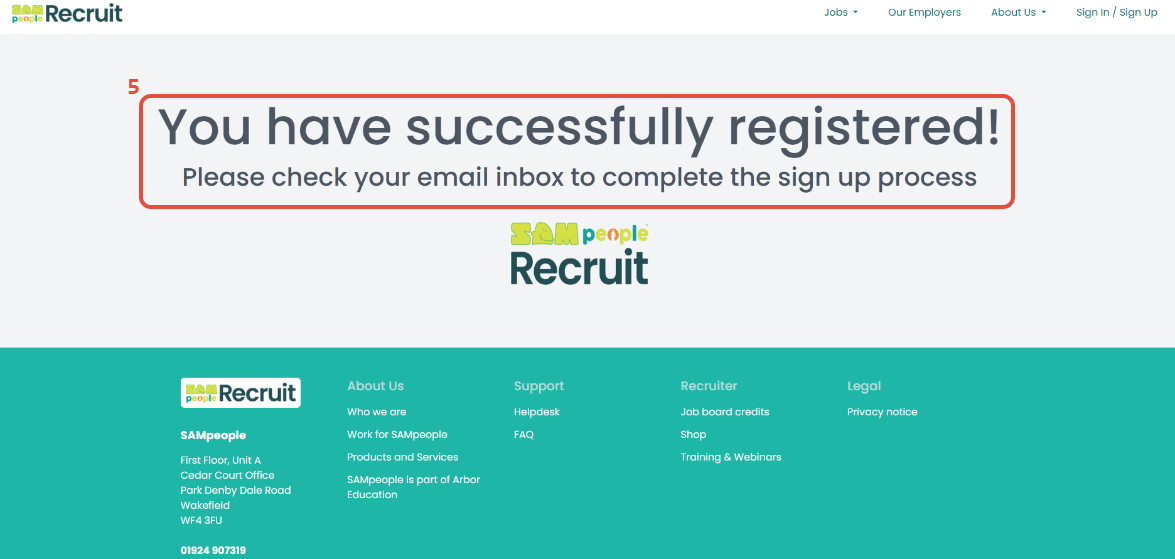
5. You will be informed that you have successfully registered and will receive an email in your inbox to complete the process.
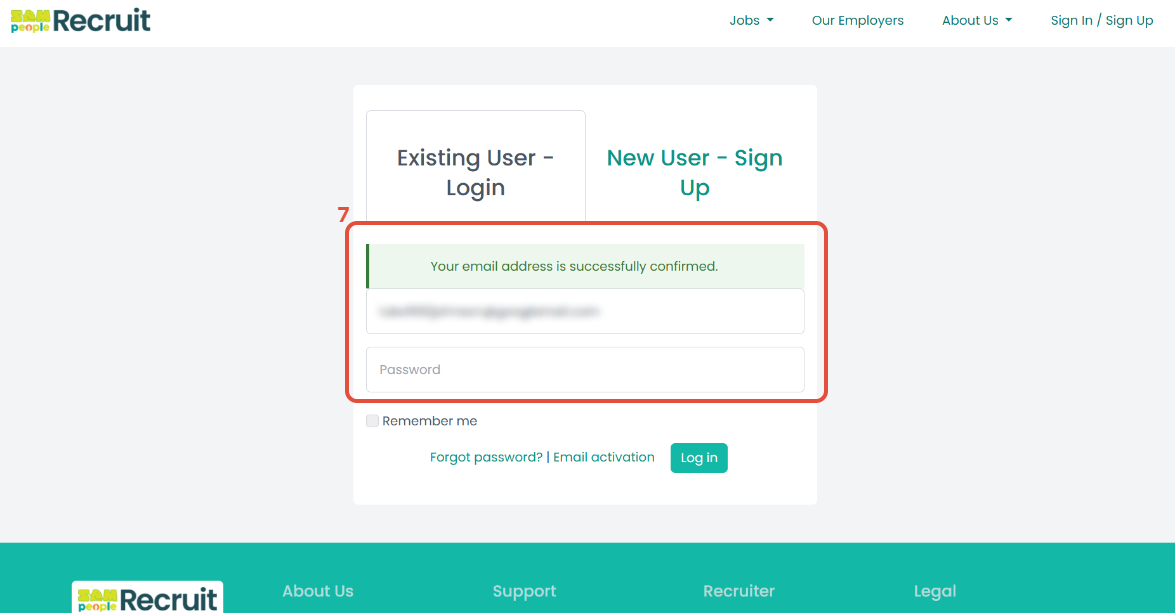
6. Confirm the email address by selecting Verify.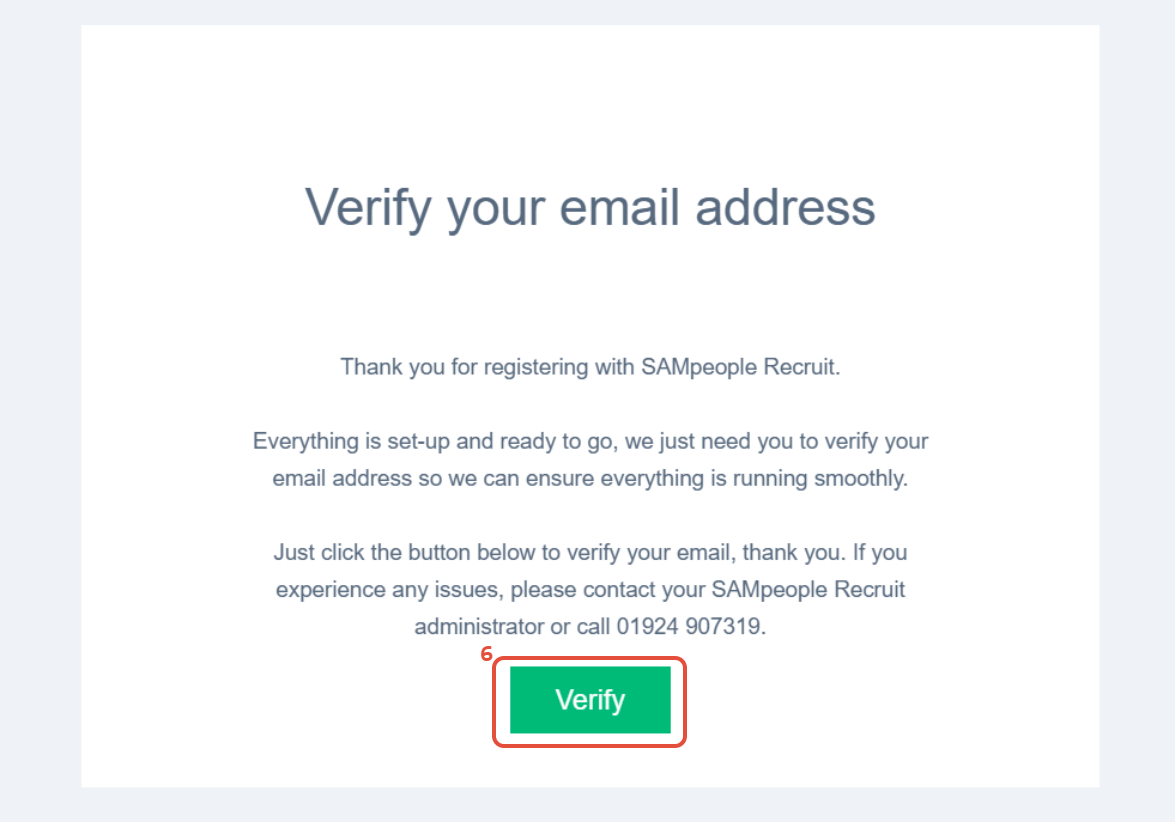
7. You can now enter your new login details.
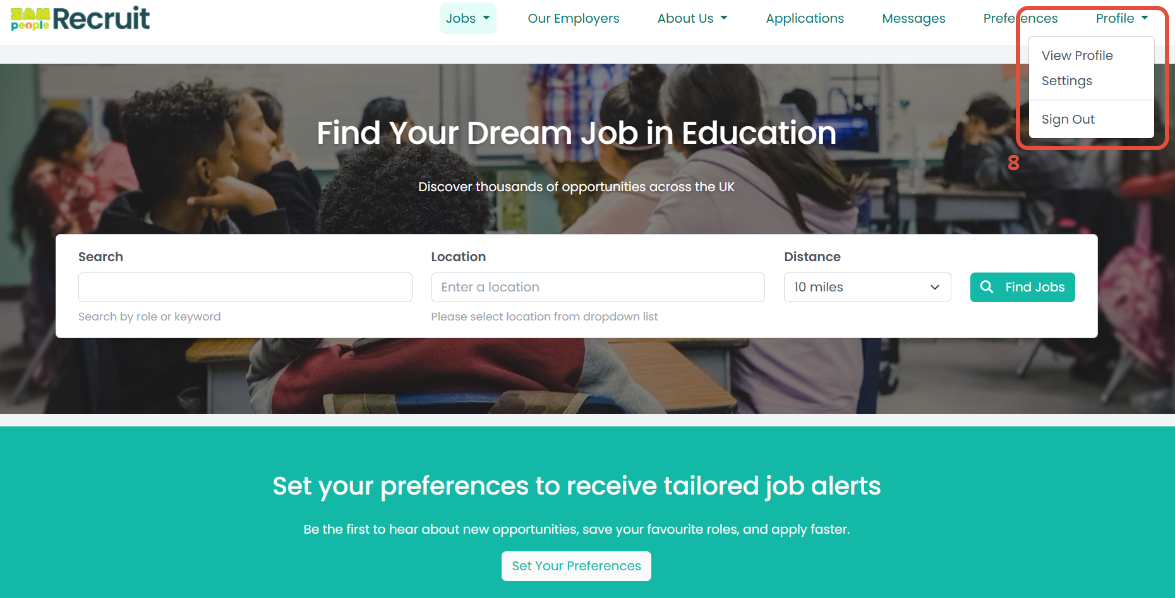
8. To amend profile information, select Profile and click on View Profile.
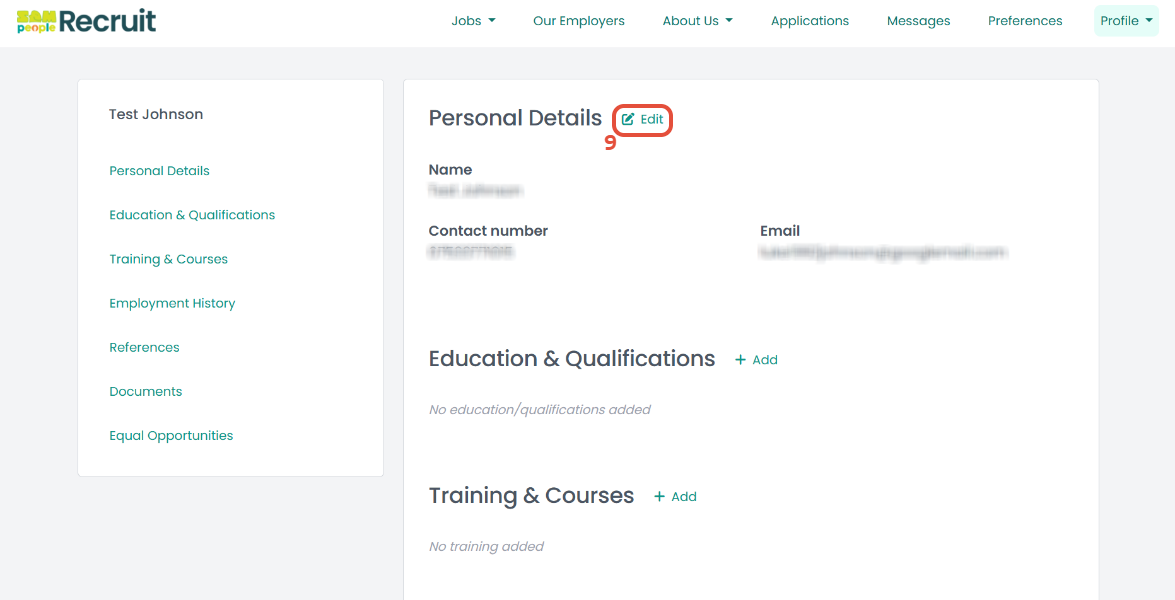
9. To amend personal details, select Edit.
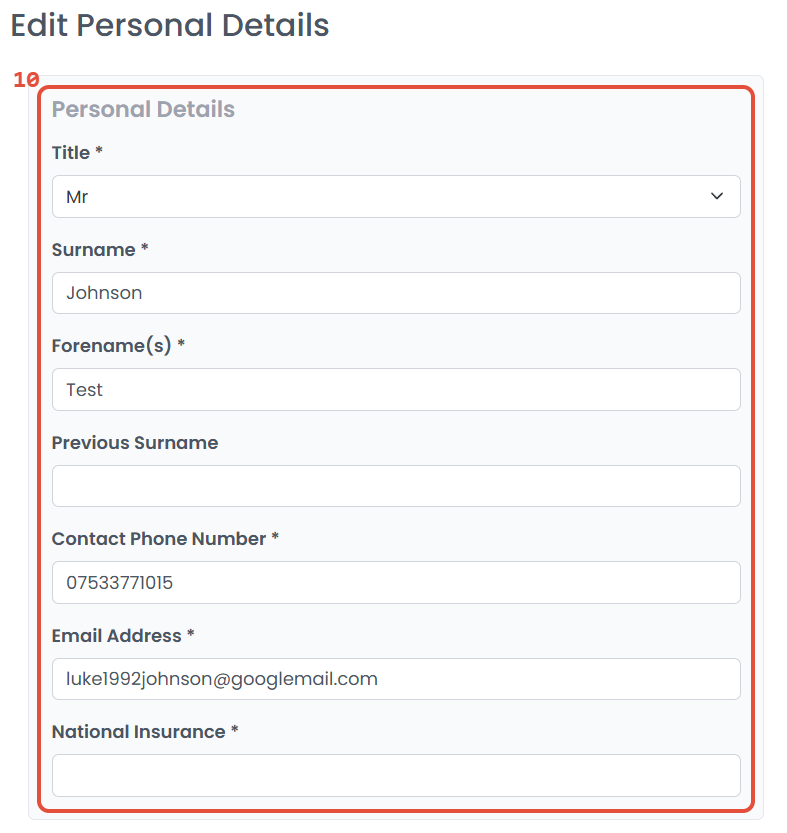
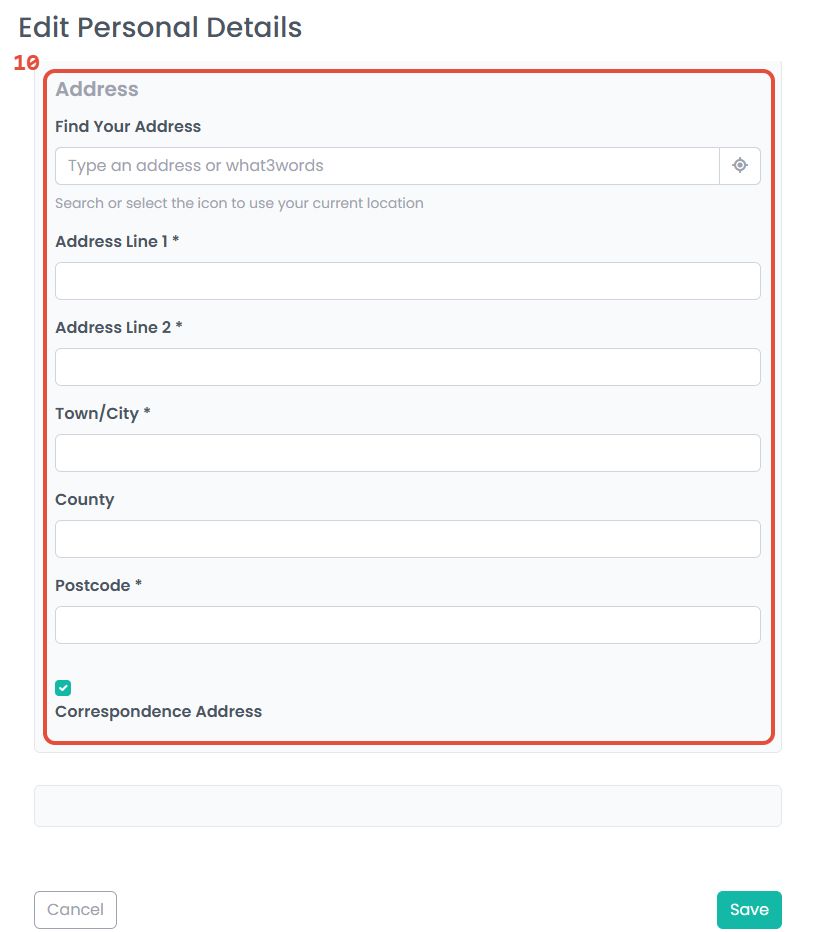
10. Add or edit Personal Details and enter an Address.
The address can be entered manually or you can find an address using the search feature.
Click Save.
 |  |
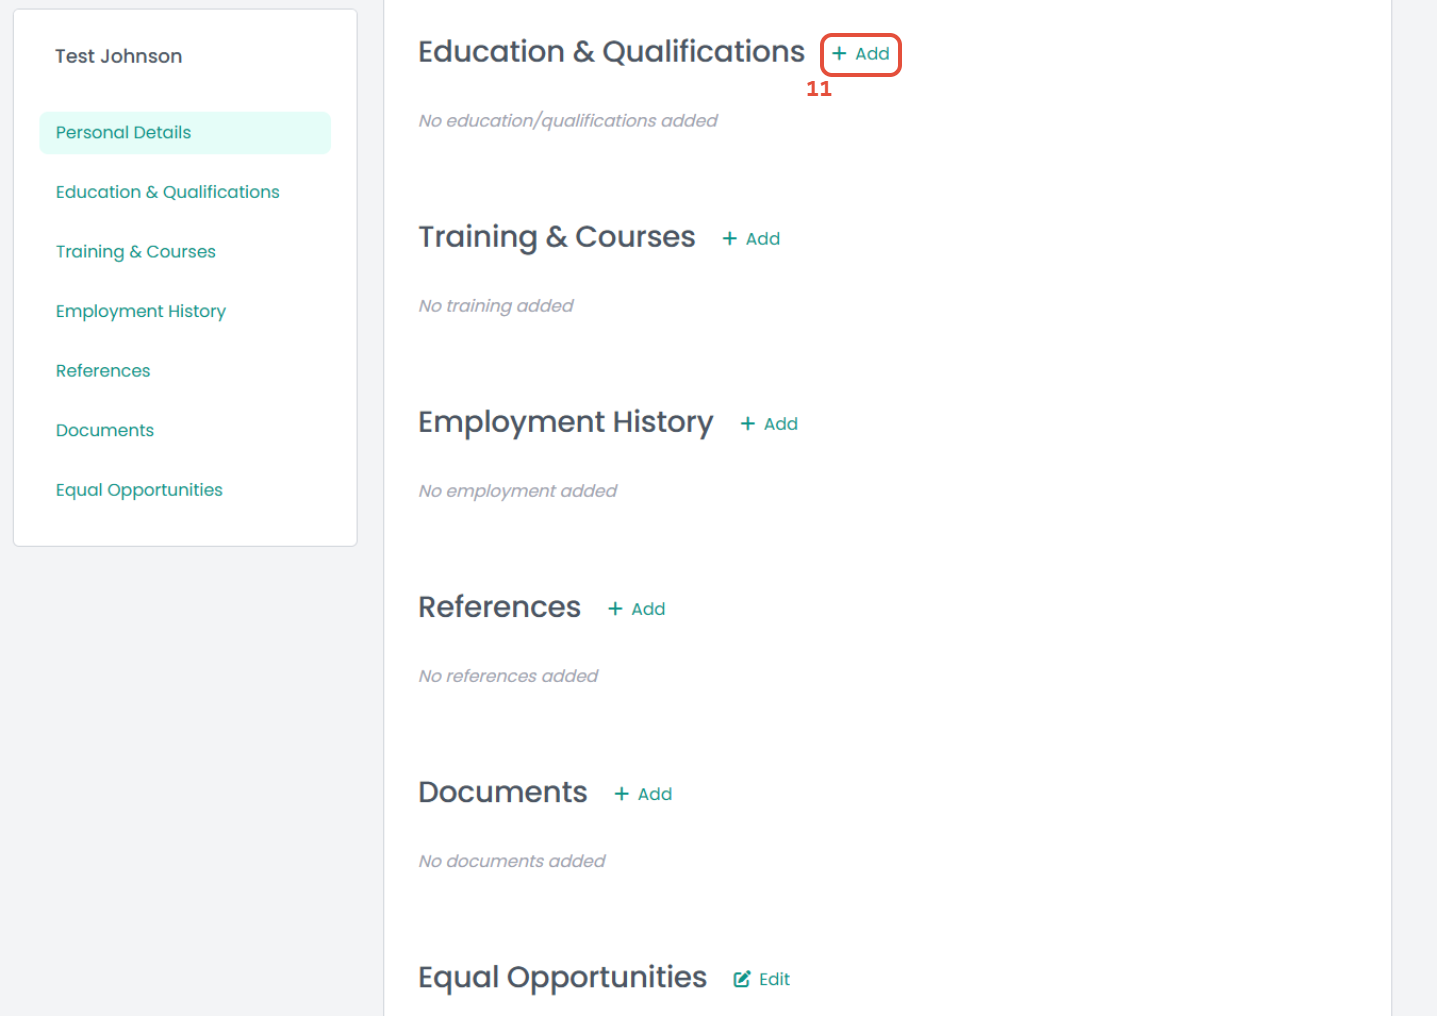
11. To enter education and qualification history, click Add.
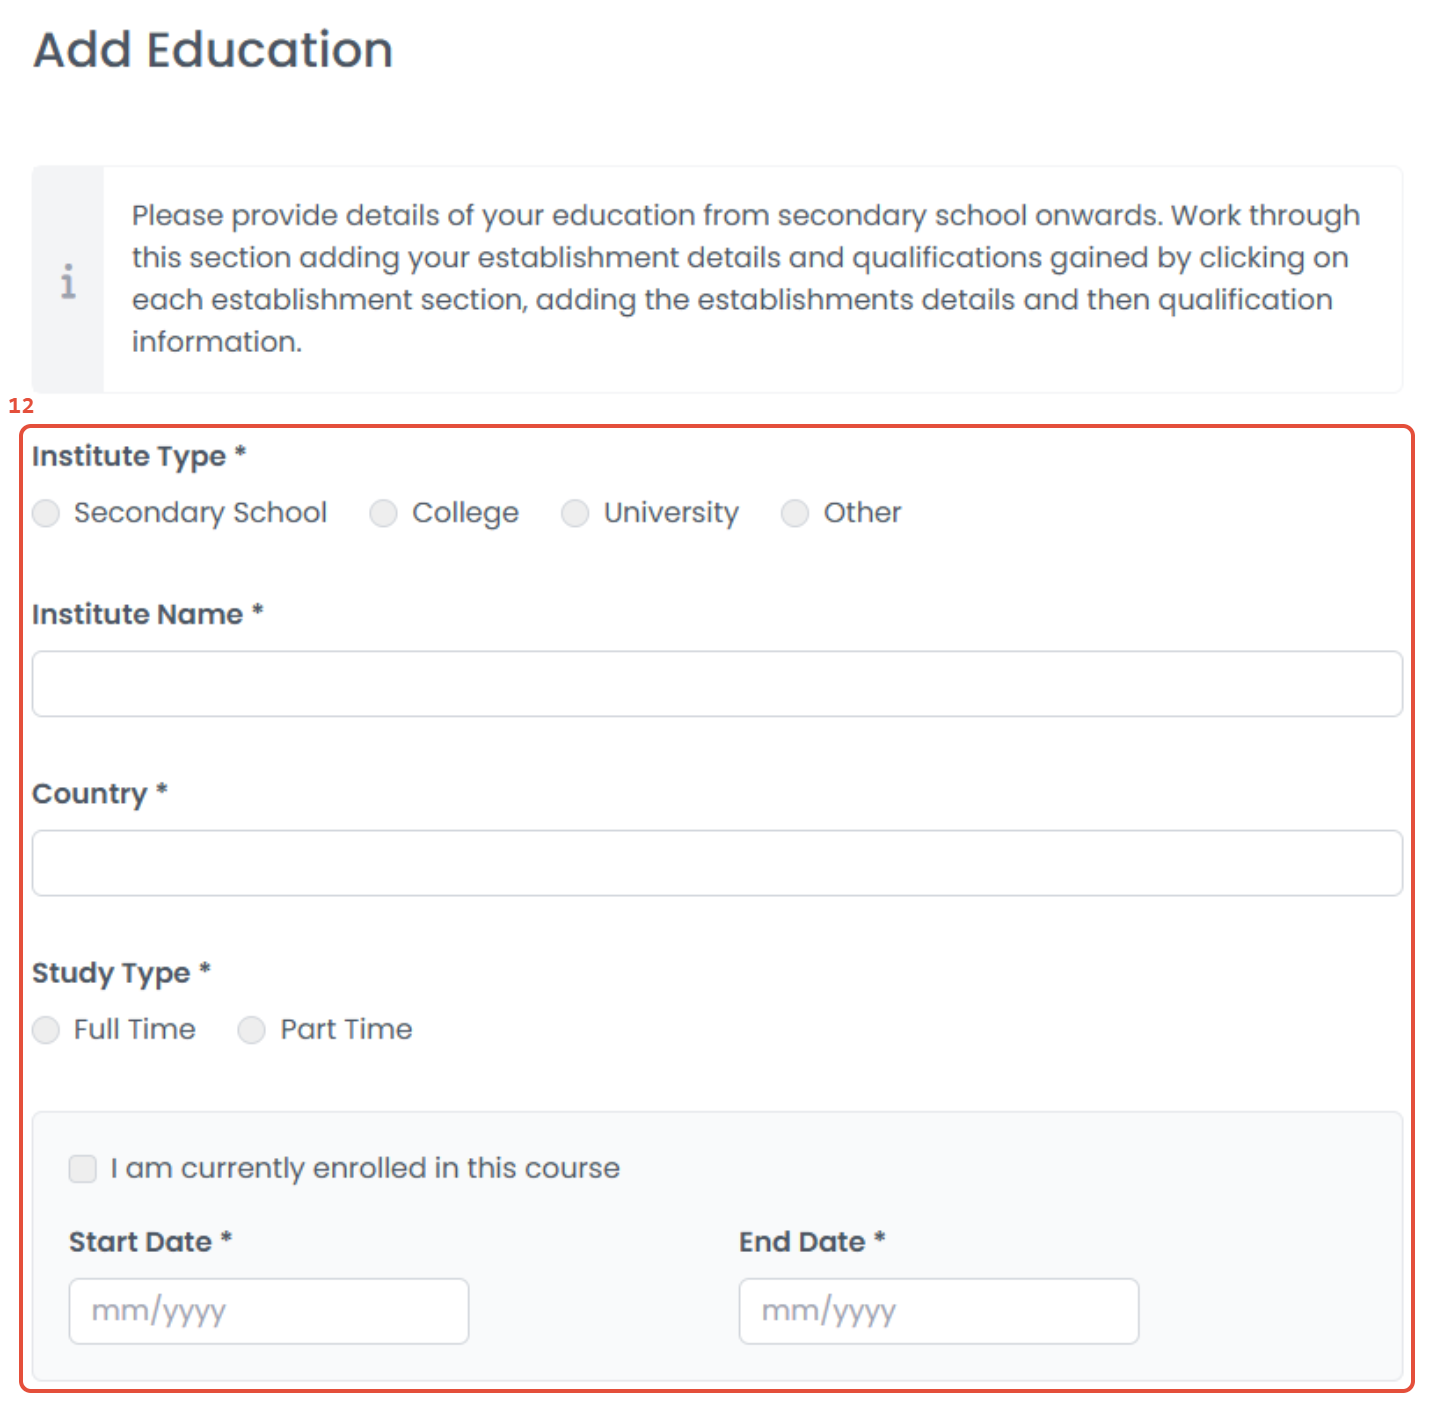
12. Enter the information for the institute. Multiple institutes can be added within the profile area.
Please note: If you are still attending this institute, please select I am currently enrolled in this course.
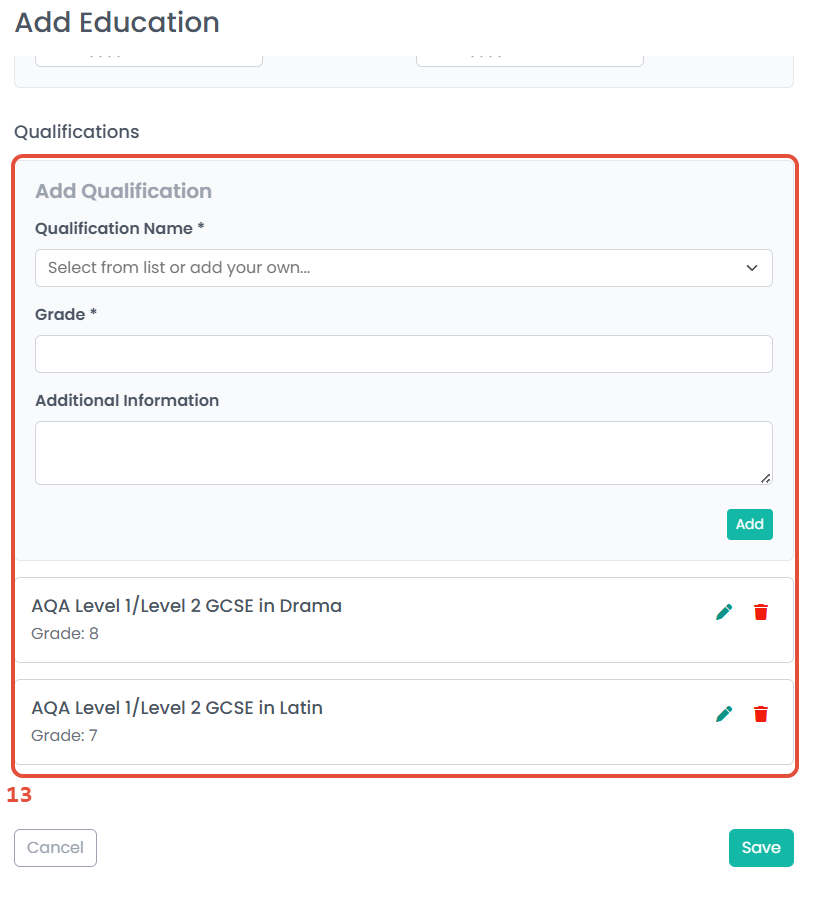
13. Qualifications can be added from a drop-down list of options or can be entered manually. Select Add to include these in the list of qualifications displayed below. Qualifications can also be edited or deleted from the list.
Click Save.
 |  |
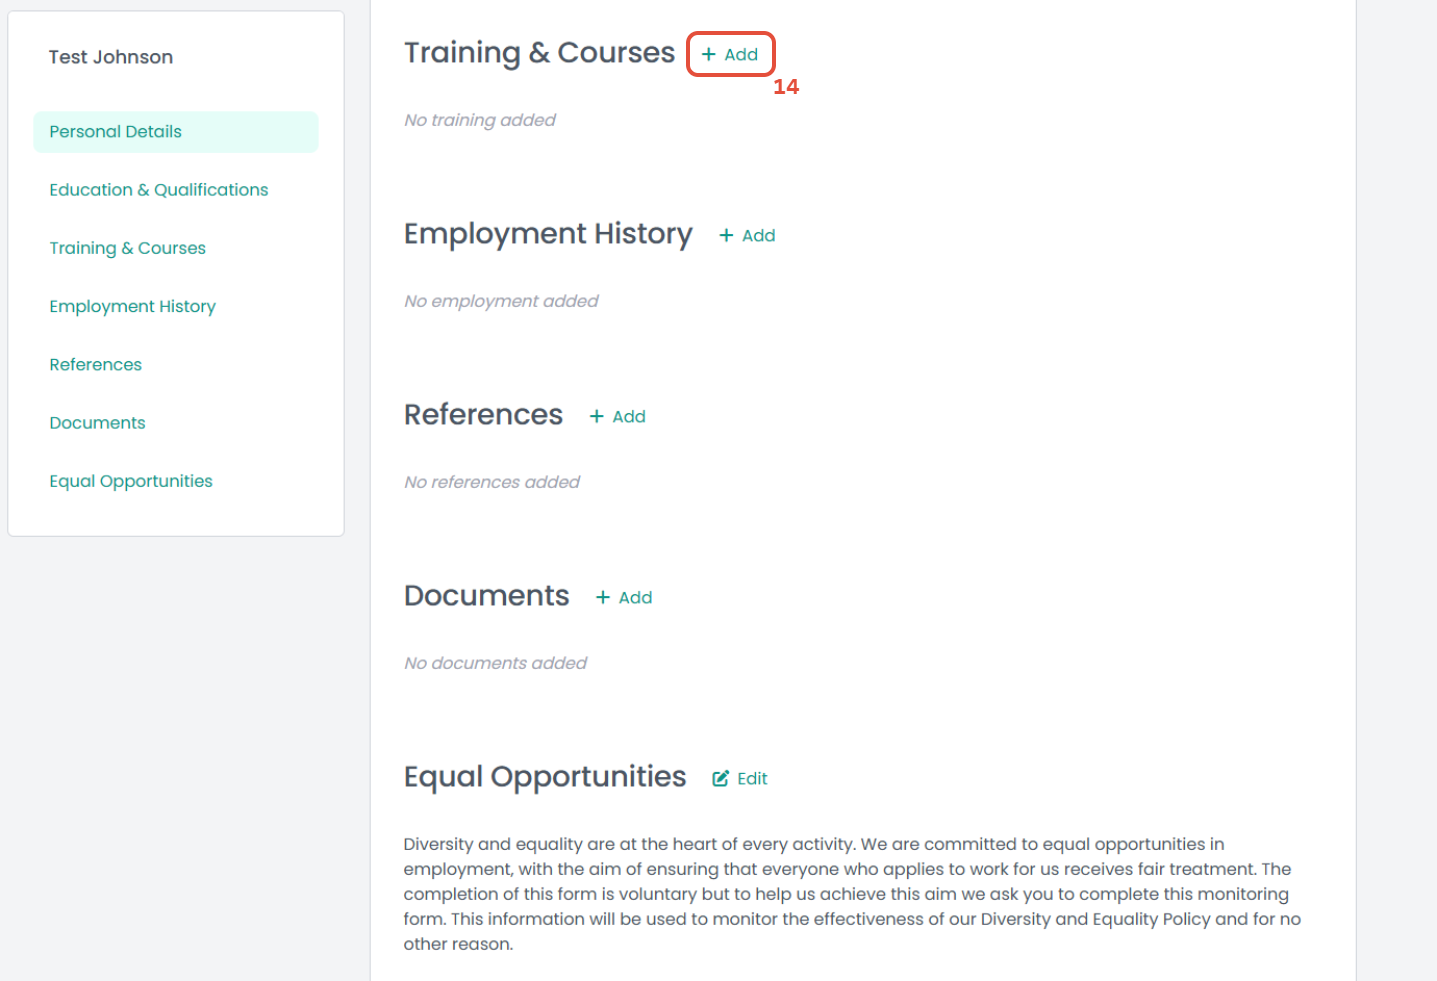
14. To enter information regarding CPD or training courses attended, select Add.
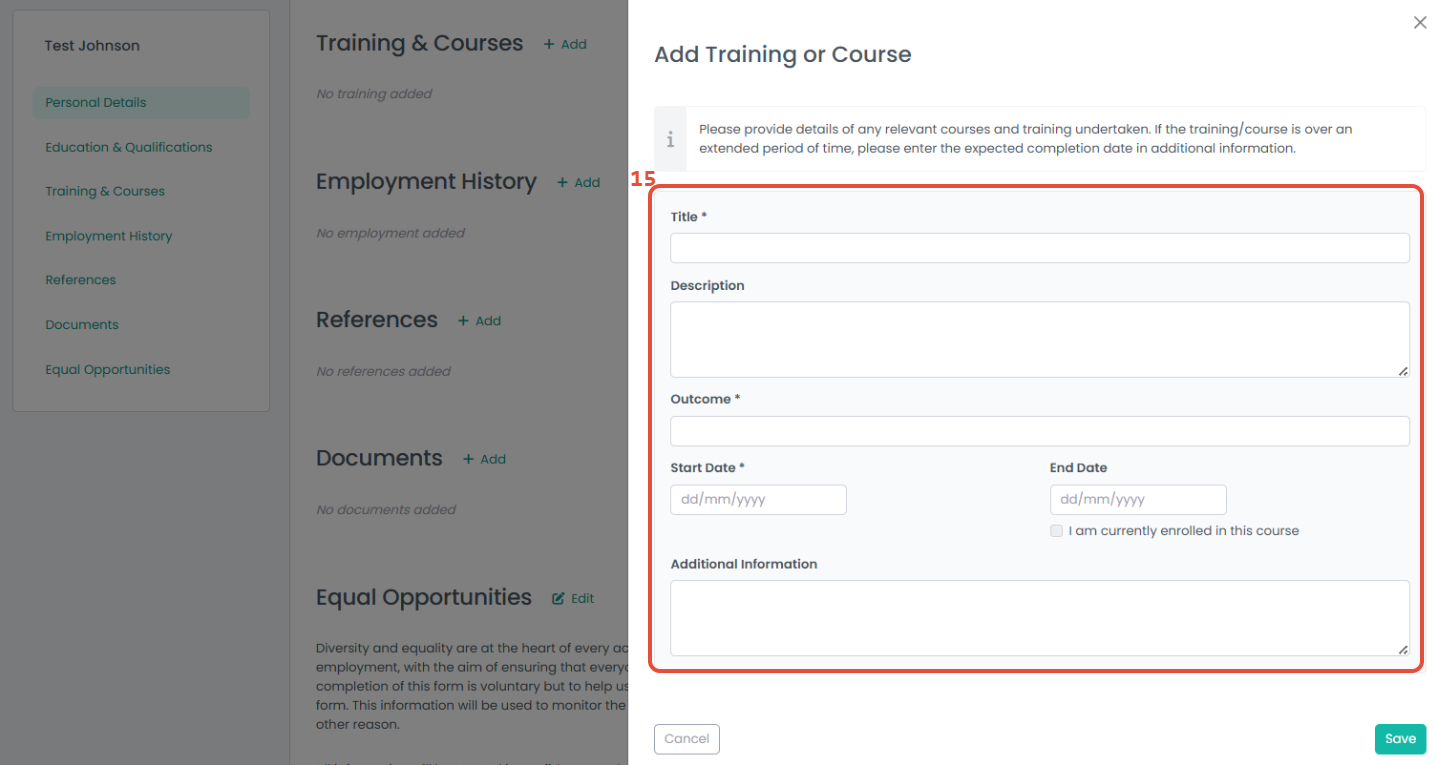
15. Complete the fields to enter training or course information and click Save. This action can be repeated as needed.
Please note: If you are still attending this course or training, please select I am currently enrolled in this course.
Click Save.
16. To enter employment history, select Add.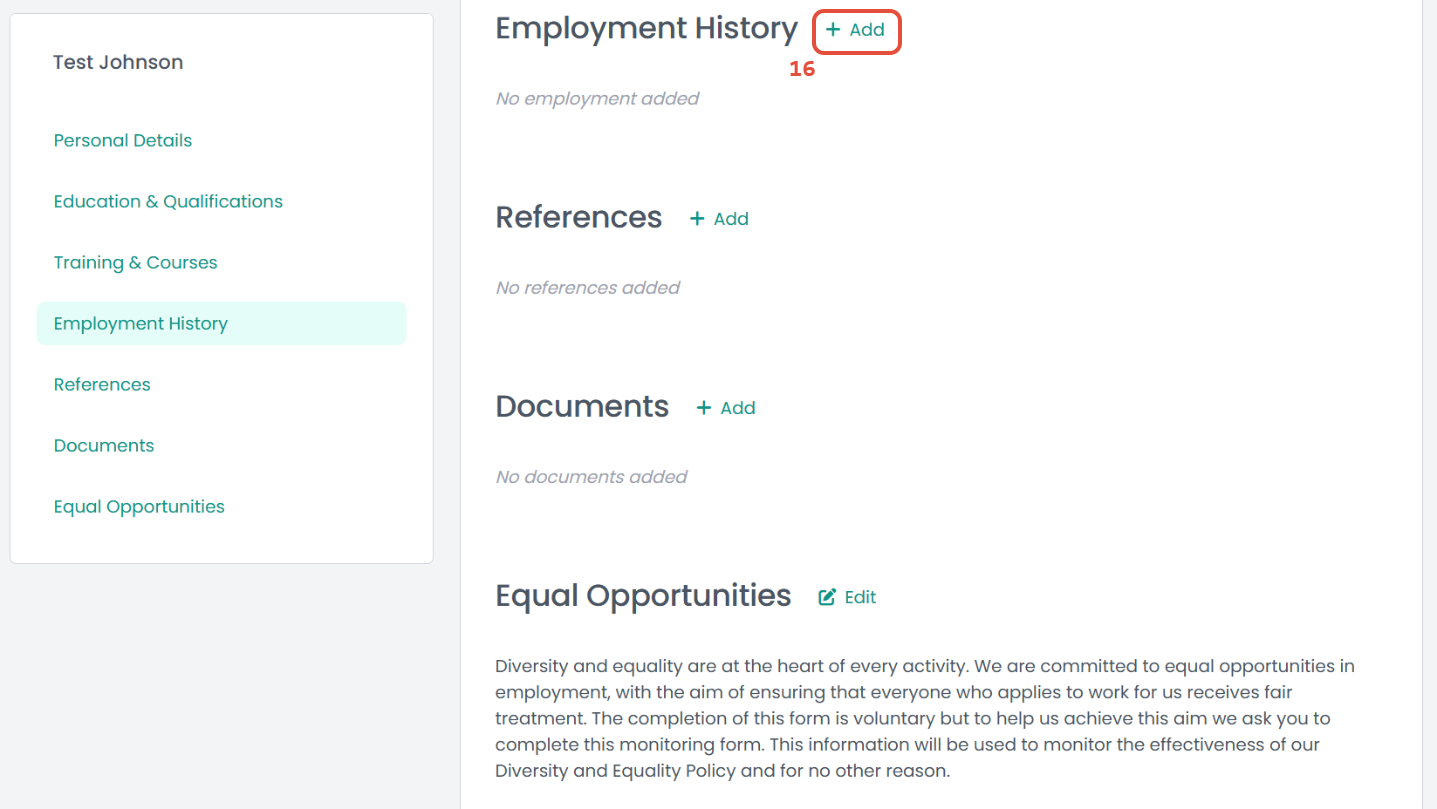
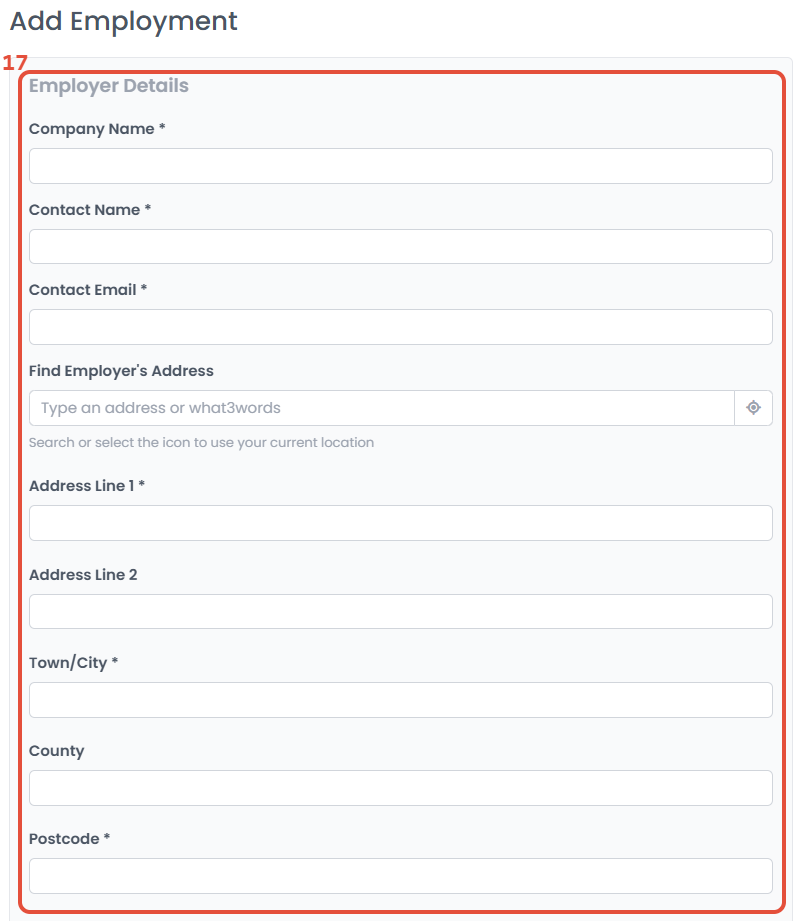
17. Enter the employment title and the dates worked before providing the employer's details.
Click Save.
 |  |
18. Click Add to enter information on referees.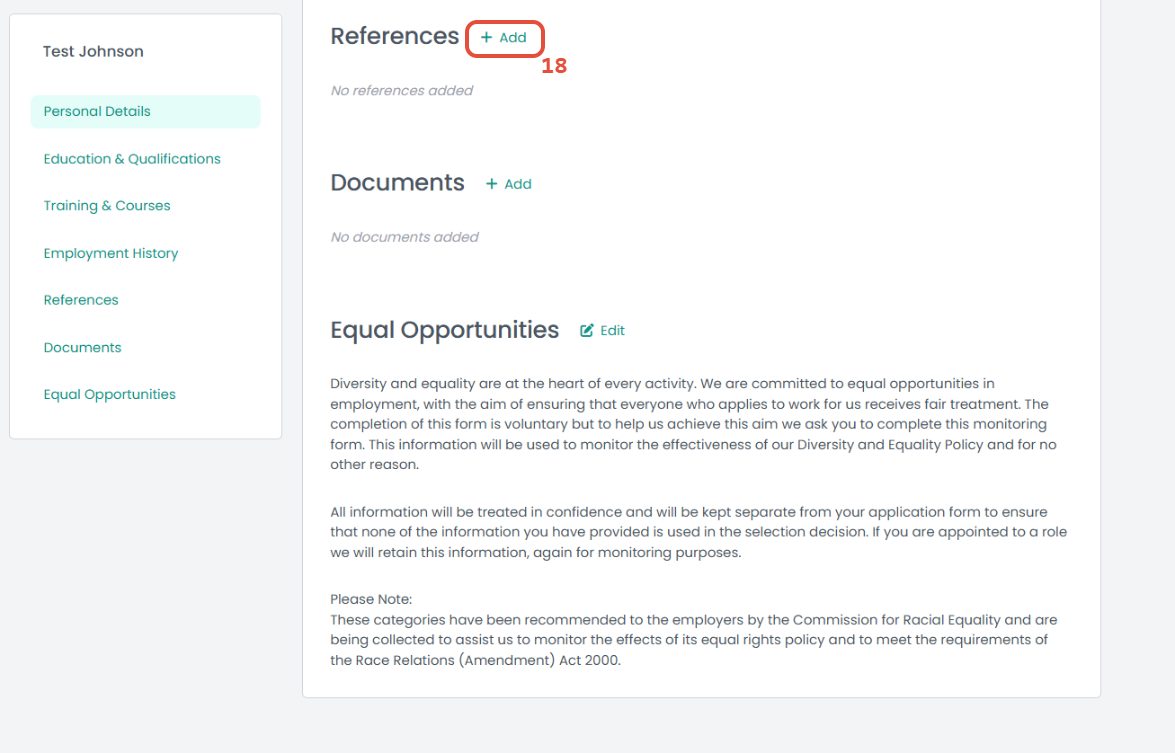
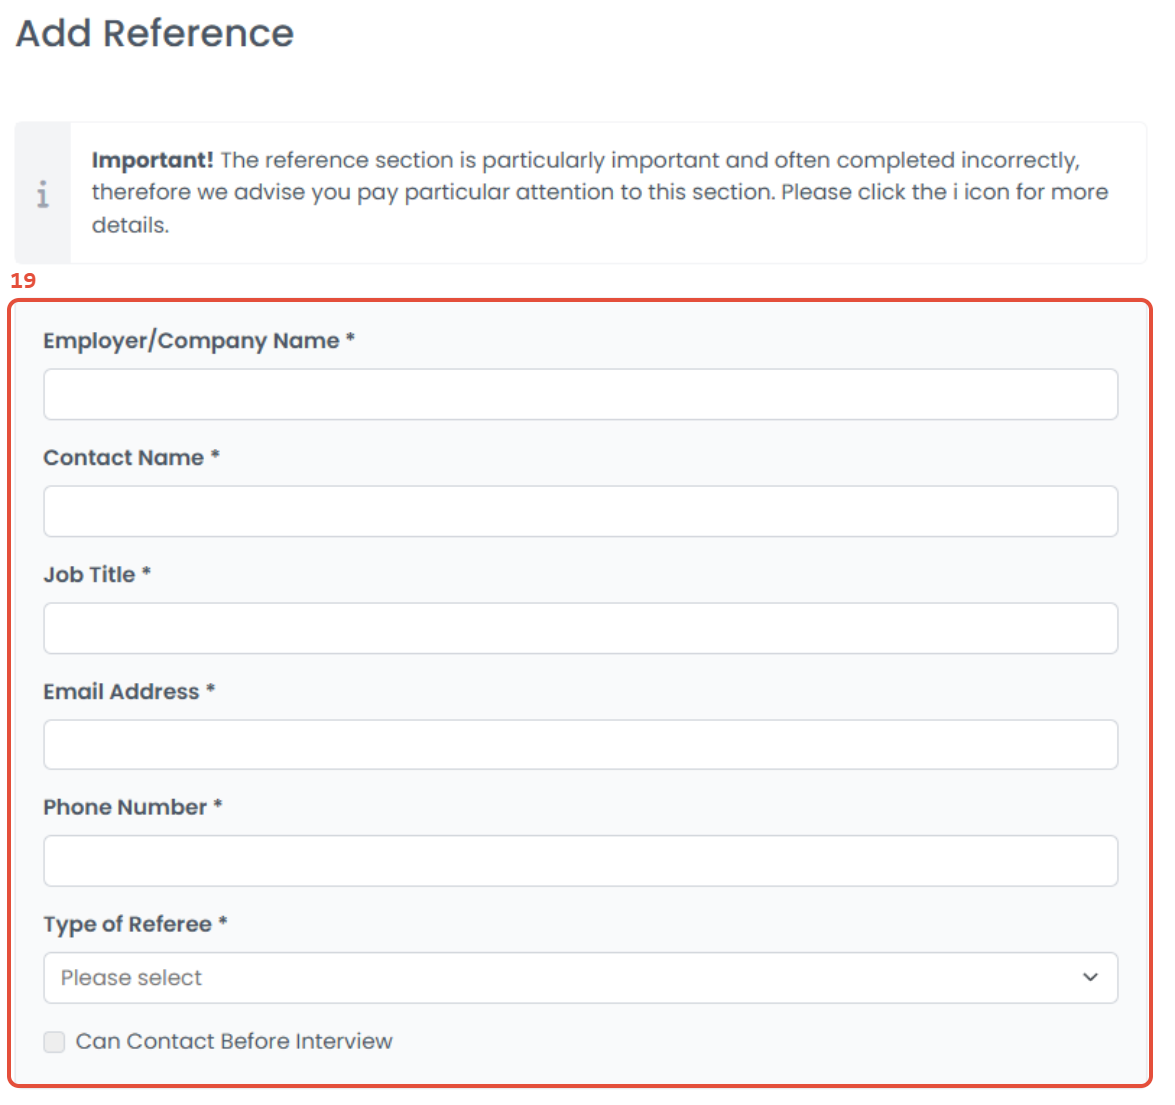
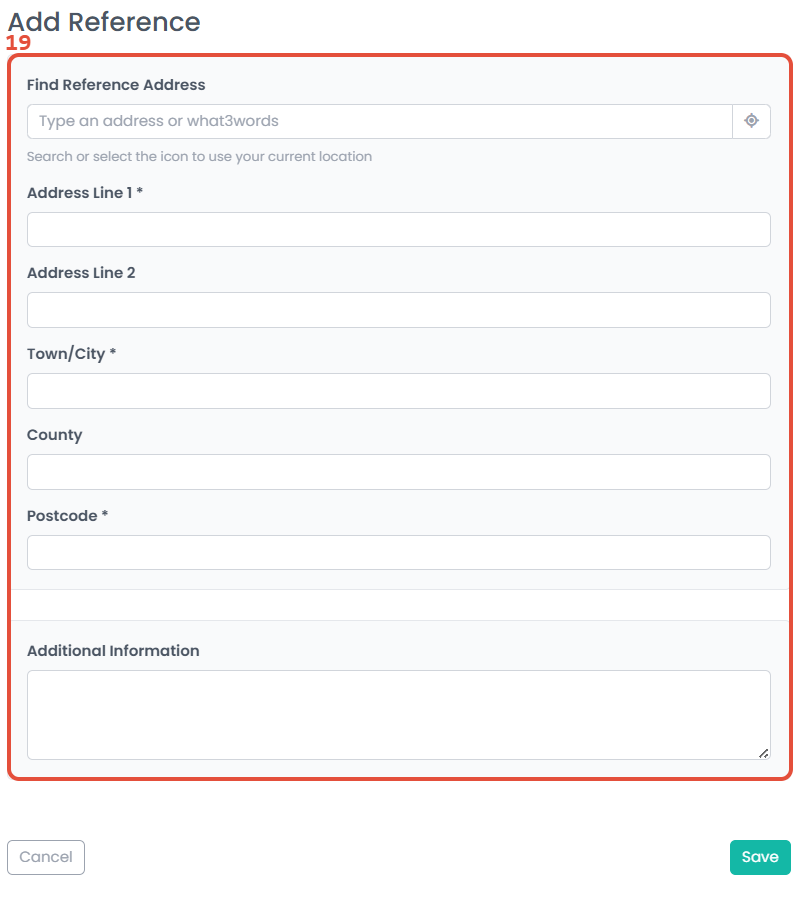
19. Enter the referee's contact information.
Please note: If you are comfortable being contacted prior to the interview, you should tick the Can Contact Before Interview checkbox.
Click Save.
 |  |
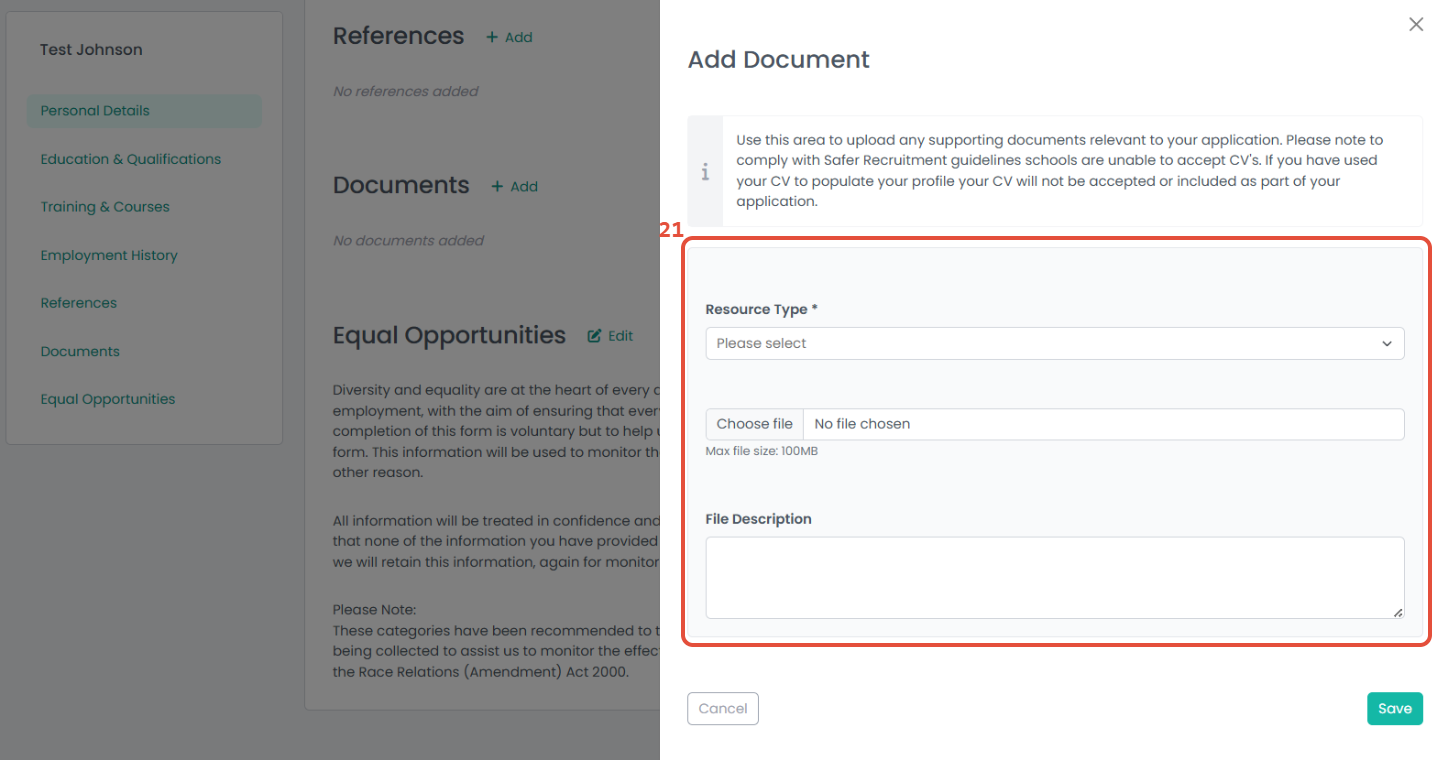
20. Upload documents by selecting Add.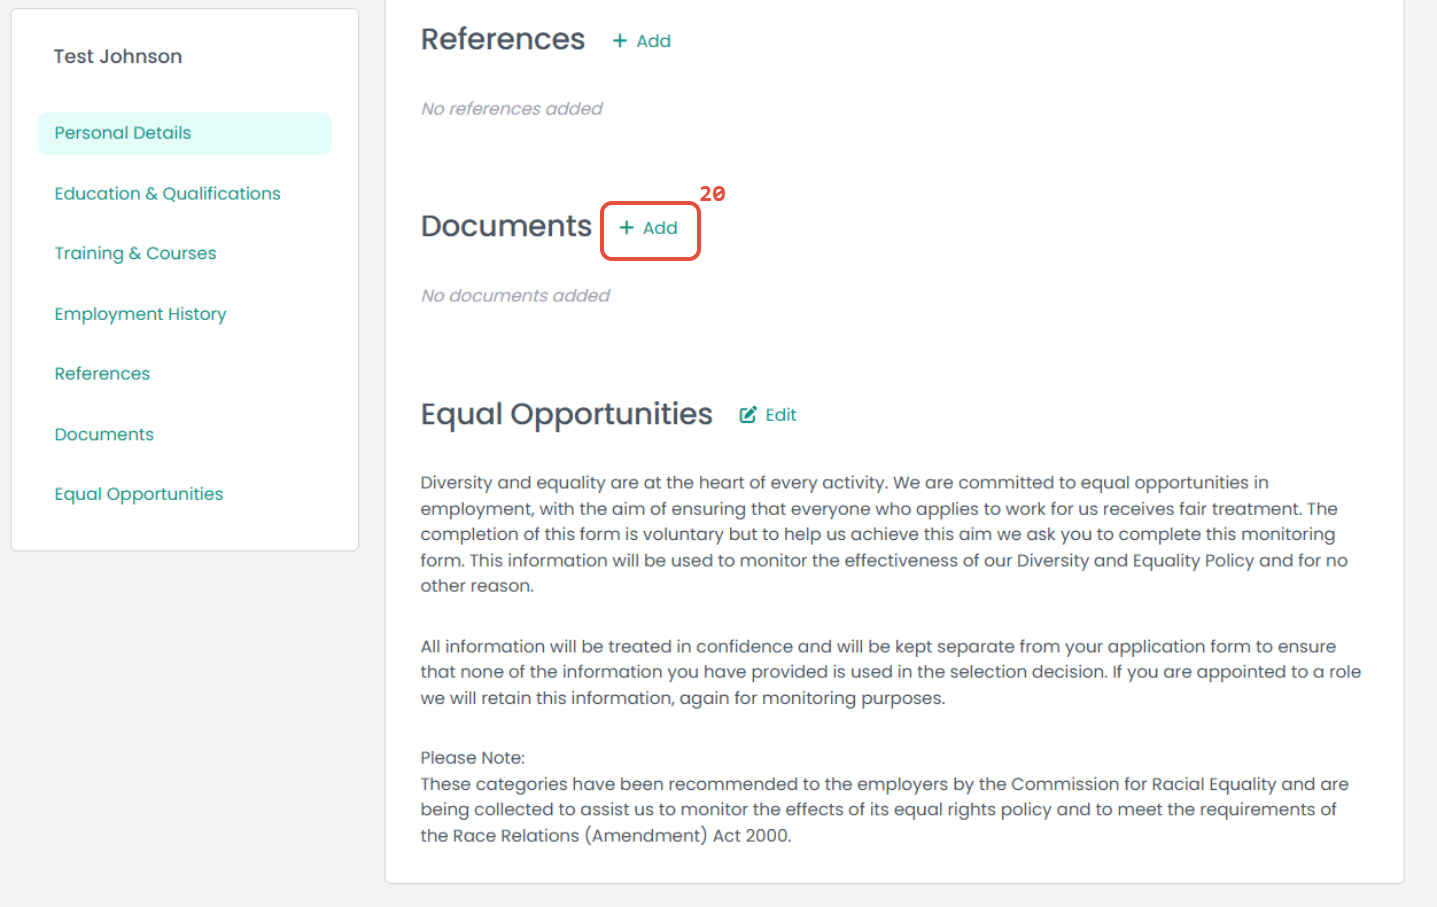
21. Documents can be uploaded to speed up the process when applying for roles or completing checks. Select the Resource Type from the drop-down list of options and upload files from your device, ready to add to applications.
Click Save.
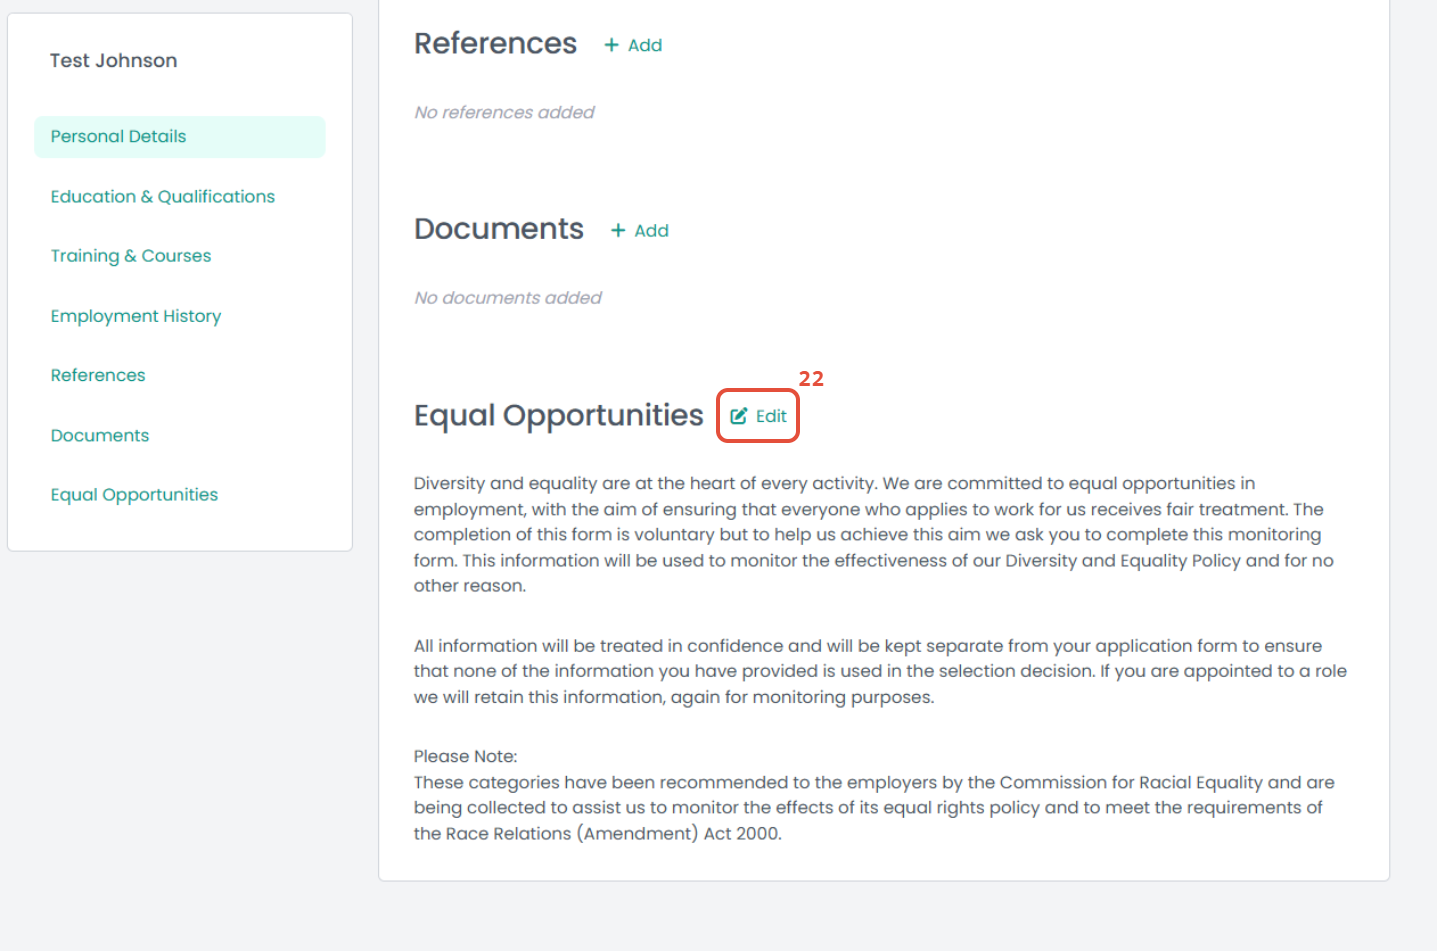
22. To add or amend equal opportunity information, select Edit.
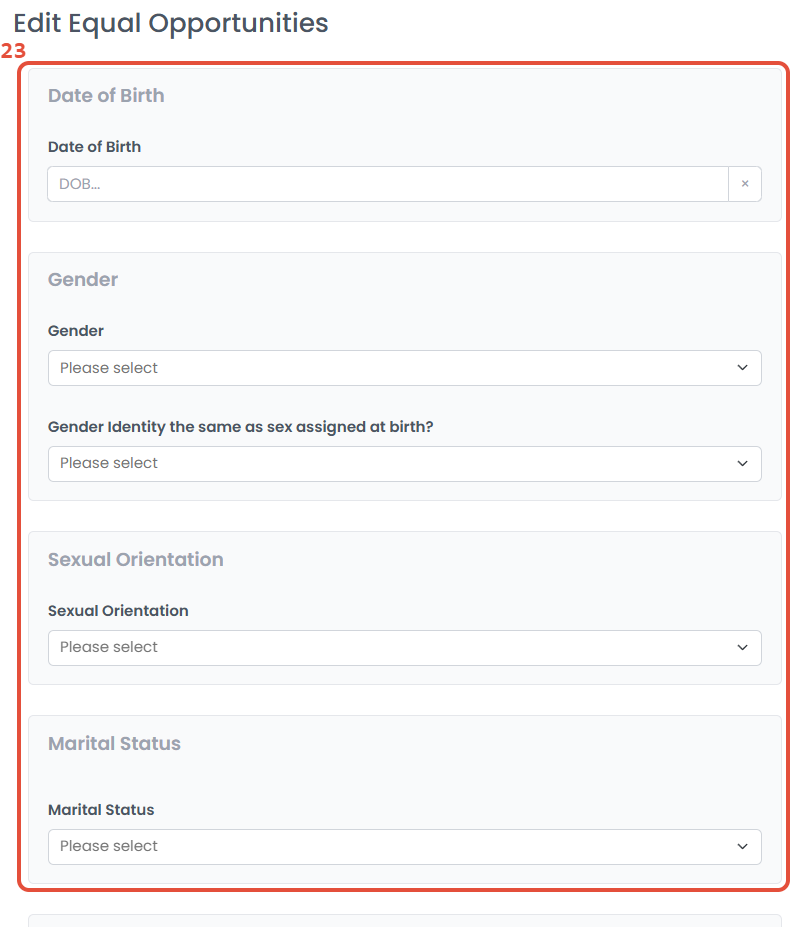
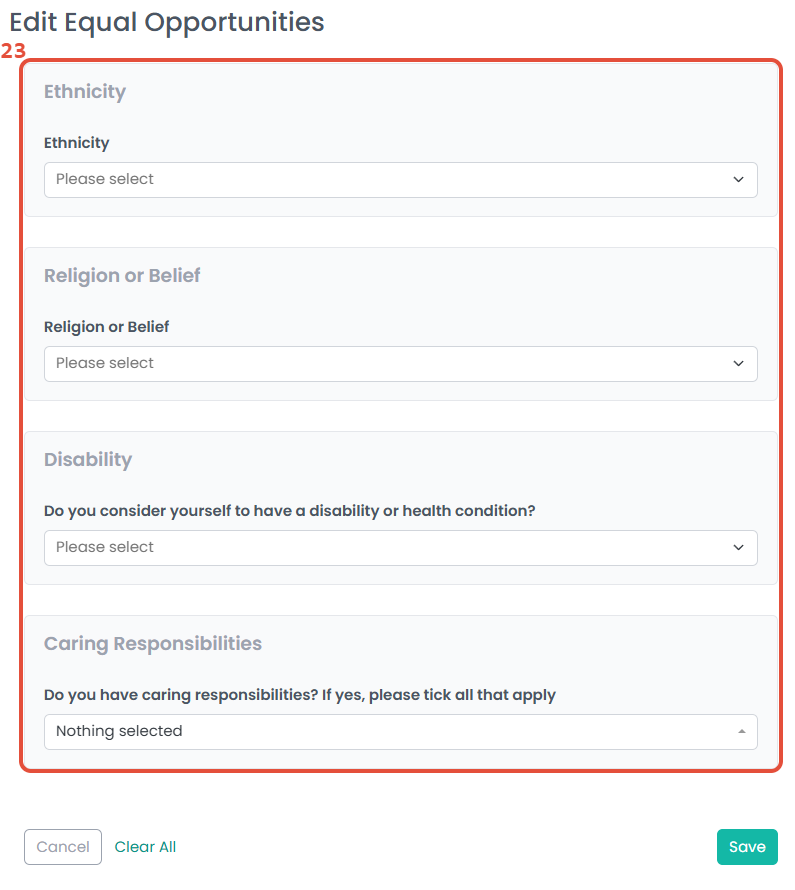
23. Enter your equal opportunity information into the fields provided.
Click Save.
 |  |
Was this article helpful?
That’s Great!
Thank you for your feedback
Sorry! We couldn't be helpful
Thank you for your feedback
Feedback sent
We appreciate your effort and will try to fix the article